Power Automate allows us to build automated workflows and can link into many applications. This guide demonstrates using Power Automate to create an API endpoint that we can use to trigger the sending of an email from Outlook using R. The automated process, or flow in Microsoft parlance, provides a simple and secure way to send emails using R without the installation of additional packages.
Creating a flow
-
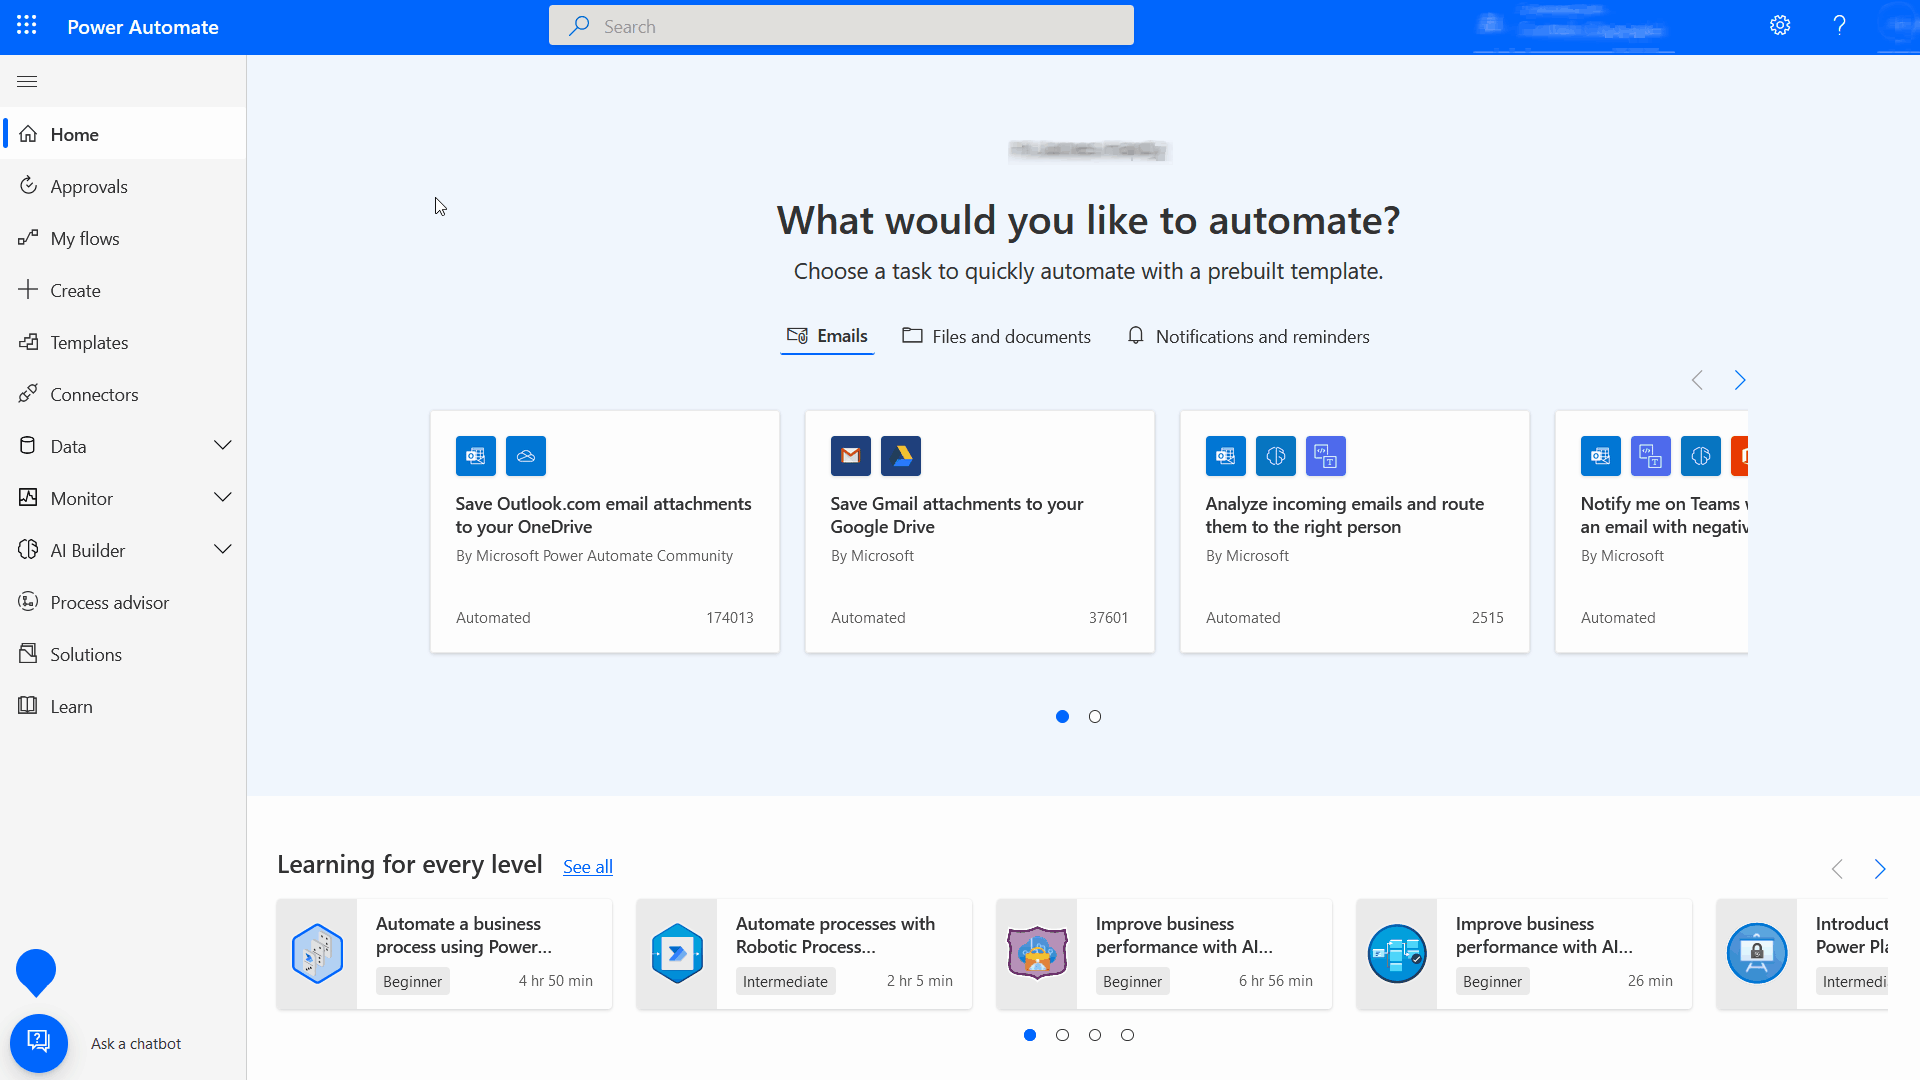
We start by navigating to the Power Automate home page and signing in.
-
Once signed in we can click ‘Create’ on the navigation bar to the left.
-
We then select the ‘Instant cloud flow’ option from the choices presented under the ‘Three ways to make a flow - Start from blank’ section.
-
The next page allows us to give our flow a name, in this case we’re going to name it ‘send from me’ which we can abbreviate to ‘sfm’.
-
For the ‘Choose how to trigger this flow’ section, we will select ‘When an HTTP request is received’, and click ‘Create’.
Creating a JSON schema
We now need to think about the information we want to send to Power Automate from an R process. The URL we use will be encrypted (HTTPS), though we likely won’t want to send confidential data. Whilst the actual size limit for POST requests (our method for sending information to Power Automate) varies, the method may not be practical for sending large amounts of data.
In our case we want to specify;
- A sender email address (who will the email come from - the user must have rights to access the account specified)
- A recipient/s email address
- A subject line for the email
- A body for the email
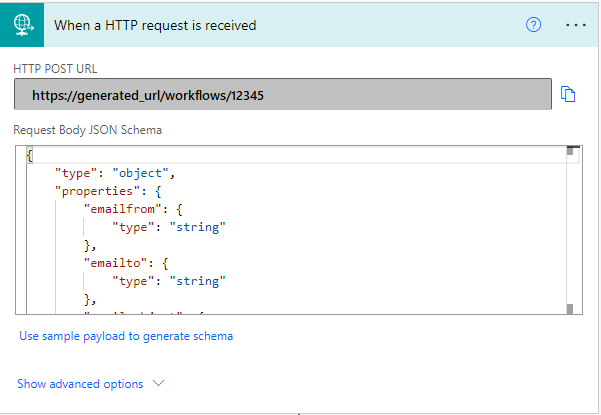
We will be using the JSON format to build a schema so that Power Automate knows how to parse the HTTP request that we send. All of our values are going to be strings, so our JSON schema will look like this;
{
"emailfrom": "string",
"emailto": "string",
"emailsubject": "string",
"emailbody": "string"
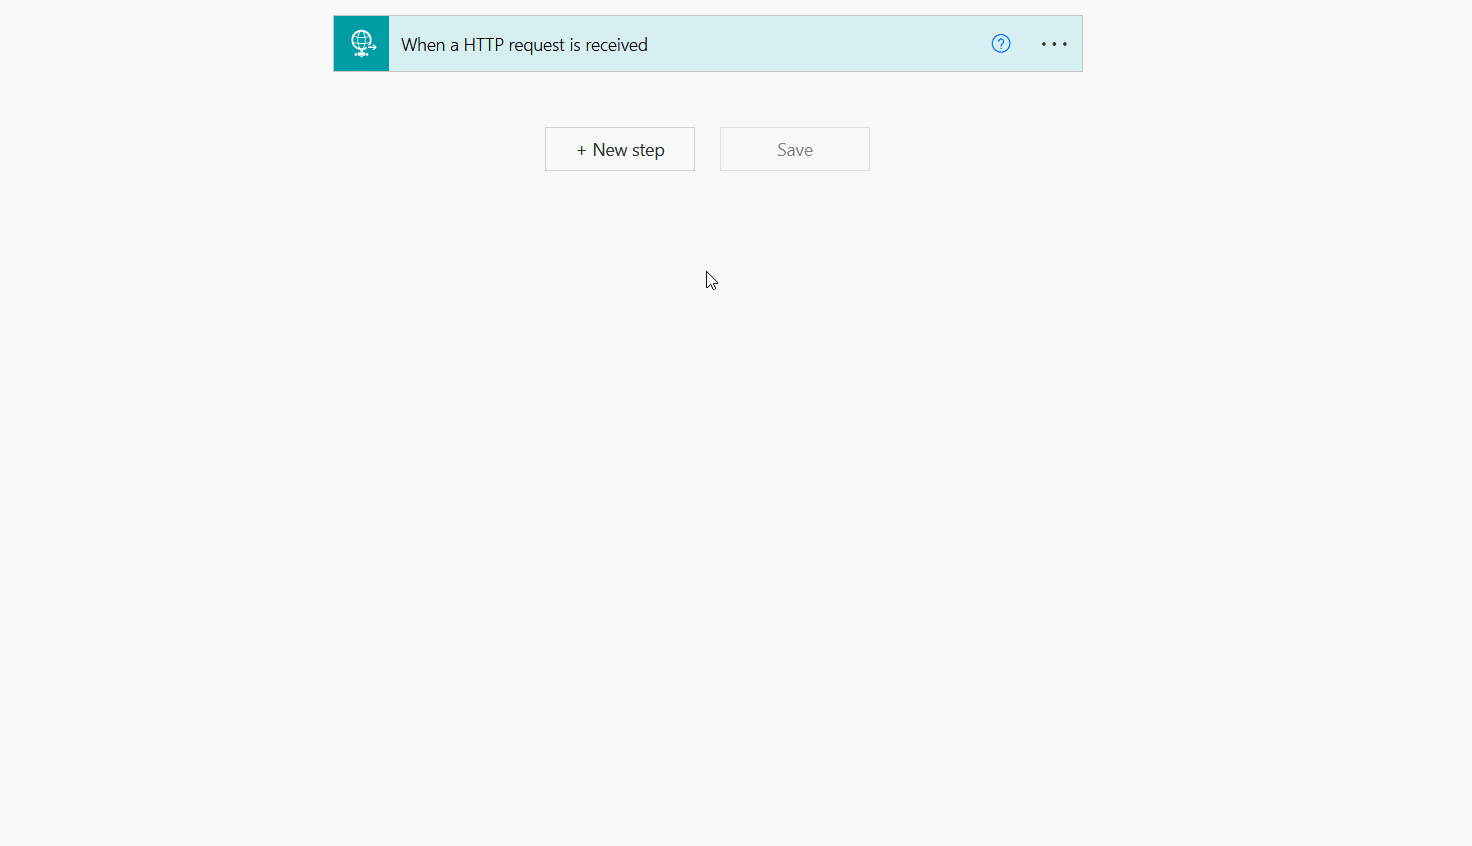
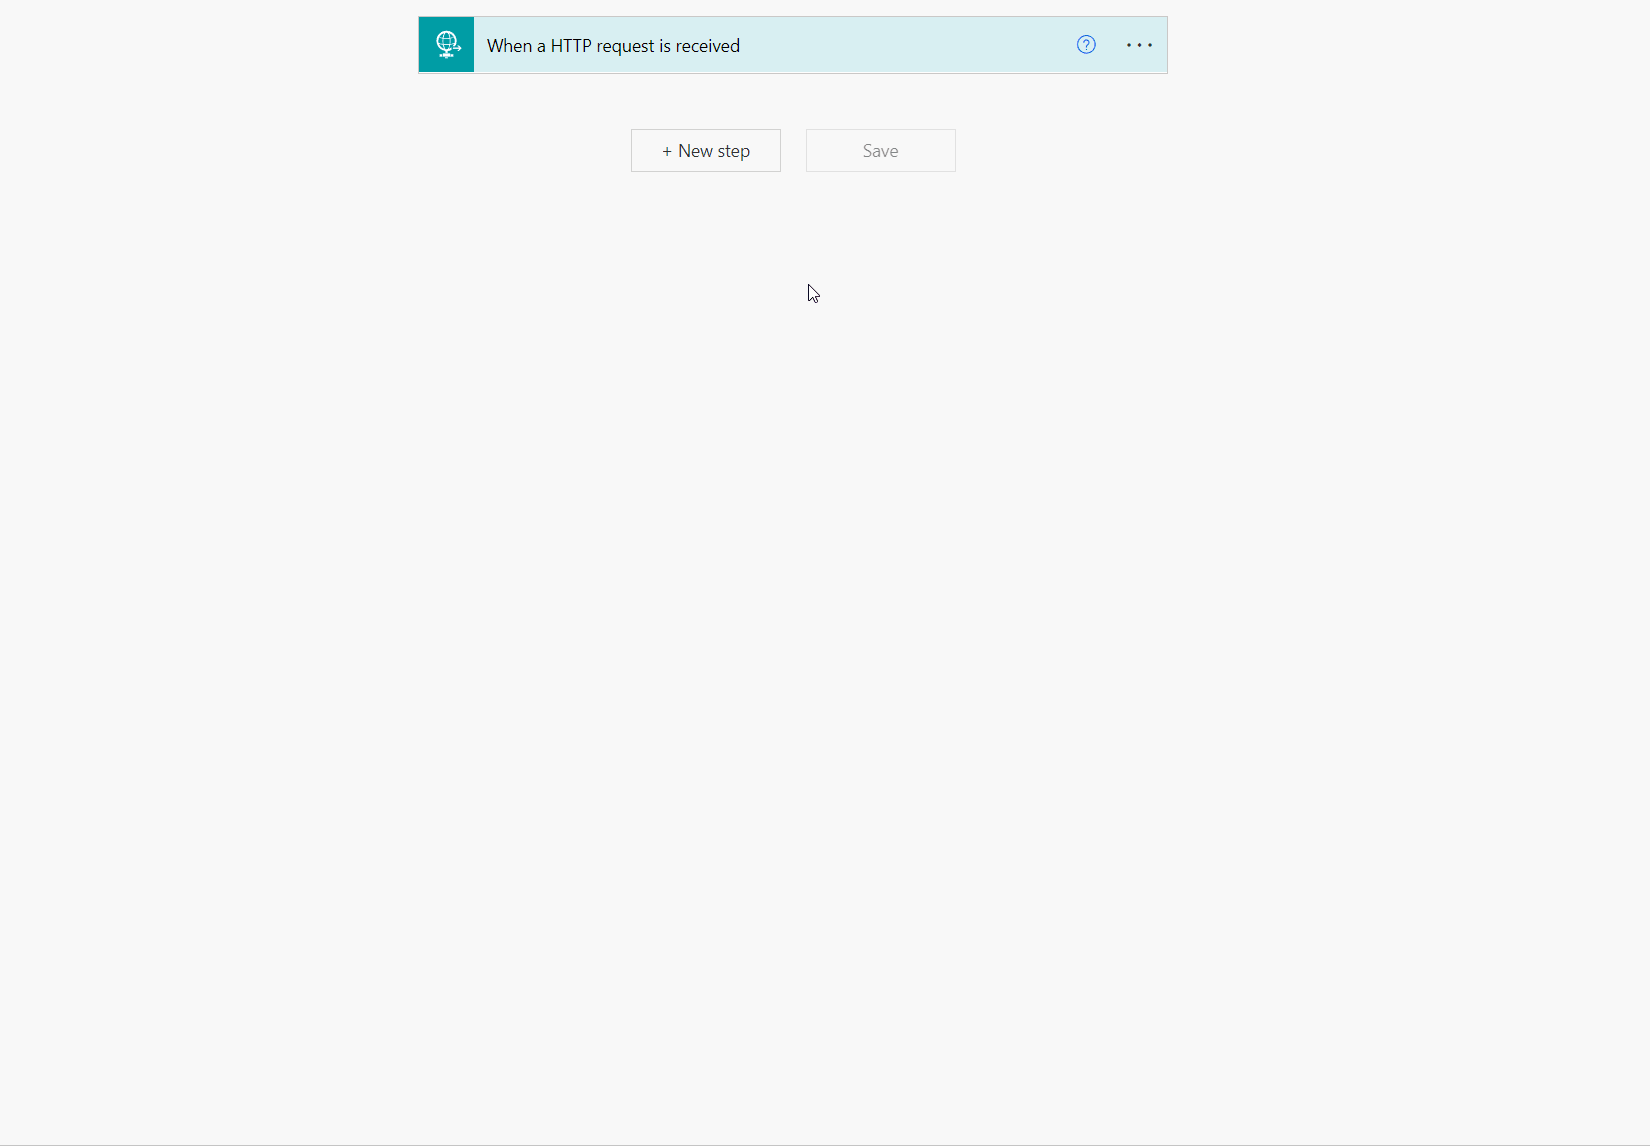
} Our newly created flow initially contains only one step, ‘When a HTTP request is received’, we can click on it to can start configuration.
Clicking on ‘Use sample payload to generate schema’, we can paste our JSON schema into the text box and Power Automate will automatically generate the schema in the format it requires once we click ‘Done’.
Configuring the email
Now that we have finished telling Power Automate how to parse our HTTP request, we can configure the email itself.
-
Click on ‘next step’ and choose ‘Send an email (V2)’ from the available options.
-
We can now populate the parameters. Clicking in the ‘To’ text box and then on the hyper-linked text underneath it to the right, ‘Add dynamic content’, will allow us to use the values from the JSON schema we set up earlier.
-
We now click into each of the fields that we want to pass a value to, and click on the relevant elements from our JSON schema to populate them.
-
Finally, we click ‘Save’ at the bottom of the page.
We have now configured our flow to parse a HTTP request and generate an email using the provided parameters.
If we click back into the ‘When a HTTP request is received’ step, we can now see that the URL we need to send our HTTP request has been generated.
Triggering a flow with a HTTP request
Using R
We can create and send a HTTP request in R using the httr package.
library(httr)

headers <- c(
  `Content-Type` = 'application/json'
)

data <- paste0(
  '{\n',
  '\'emailfrom\': \'jim@example.com\',\n',
  '\'emailto\': \'jim@example.com\',\n',
  '\'emailsubject\': \'Test Subject\',\n',
  '\'emailbody\': \'Test body of email text.\'\n',
  '}'
  )

res <- httr::POST(
  url = 'https://generated_url/workflows/12345',
  config = list(httr::add_headers(.headers=headers)),
  body = data
  )
Note that the single quotes (') used within data are escaped (with \). The \n syntax is used to specify a new line and is used here in order to abide to the JSON schema.
Using bash (linux users)
There are many ways in which R can be used to send HTTP requests directly, however, formatting JSON headers correctly can be challenging. One simple solution when using R on top of a Linux OS is to use bash scripting, and then call the bash script from R. This method has the advantage of creating a script which is then callable from other languages and the terminal.
Create a bash shell script
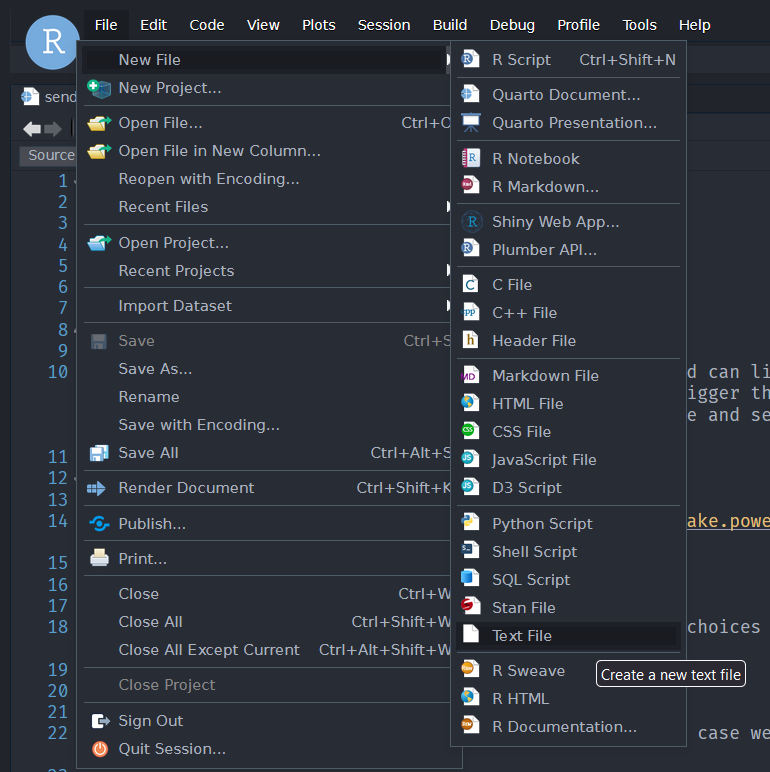
If working from RStudio we can click File > New File > Text File to create the file, but a text editor of your choice can perform the same role.
We will save the file to our home directory, naming it sfm.sh
The first line of the script will be;
#!/bin/bashThis line instructs the operating system to use the bash program to execute the code that follows.
We next specify the arguments we want to be able to accept when we call the shell script. The arguments are positional, so we would first supply the url, then emailfrom, and so on.
url="$1"
emailfrom="$2"
emailto="$3"
sub="$4"
bod="$5"
The final part of the script constructs the HTTP request itself.
curl --location --request POST "$url" \
--header 'Content-Type: application/json' \
--data "{
    'emailfrom': '$emailfrom',
    'emailto': '$emailto',
    'emailsubject': '$sub',
    'emailbody': '$bod'
}"
Our full bash script will now look like this.
#!/bin/bash
url="$1"
emailfrom="$2"
emailto="$3"
sub="$4"
bod="$5"
curl --location --request POST "$url" \
--header 'Content-Type: application/json' \
--data "{
    'emailfrom': '$emailfrom',
    'emailto': '$emailto',
    'emailsubject': '$sub',
    'emailbody': '$bod'
}"
We can now use the bash script from the command line to send an email by using the bash command, then specifying the path to the script we just created. We can pass each of our 5 arguments by typing them one after the other, remembering that our script uses them positionally.
bash "~/sfm.sh" "https://generated_url/workflows/12345" "jim@example.com" "jim@example.com" "Test Subject" "Test body of email text."Call a bash script from R
We can use the system() function to execute the same syntax from R.
system('bash "~/sfm.sh" "https://generated_url/workflows/12345" "jim@example.com" "jim@example.com" "Test Subject" "Test body of email text."')We can also create a function to make calling the bash script within R simpler, and more intuitive. This also makes it easier to reuse the function for different purposes.
# function definition
sfm <- function(bash, url, emailfrom, emailto, subject, body) {
  system(glue::glue('bash "{normalizePath(bash)}" "{url}" "{emailfrom}" "{emailto}" "{subject}" "{body}"'))
  return(invisible())
}

# usage
sfm(
  bash = "~/sfm.sh",
  url = "https://generated_url/workflows/12345",
  emailfrom = "jim@example.com",
  emailto = "jim@example.com",
  subject = "Test Subject",
  body = "Test body of email text."
)
Maintaining a flow
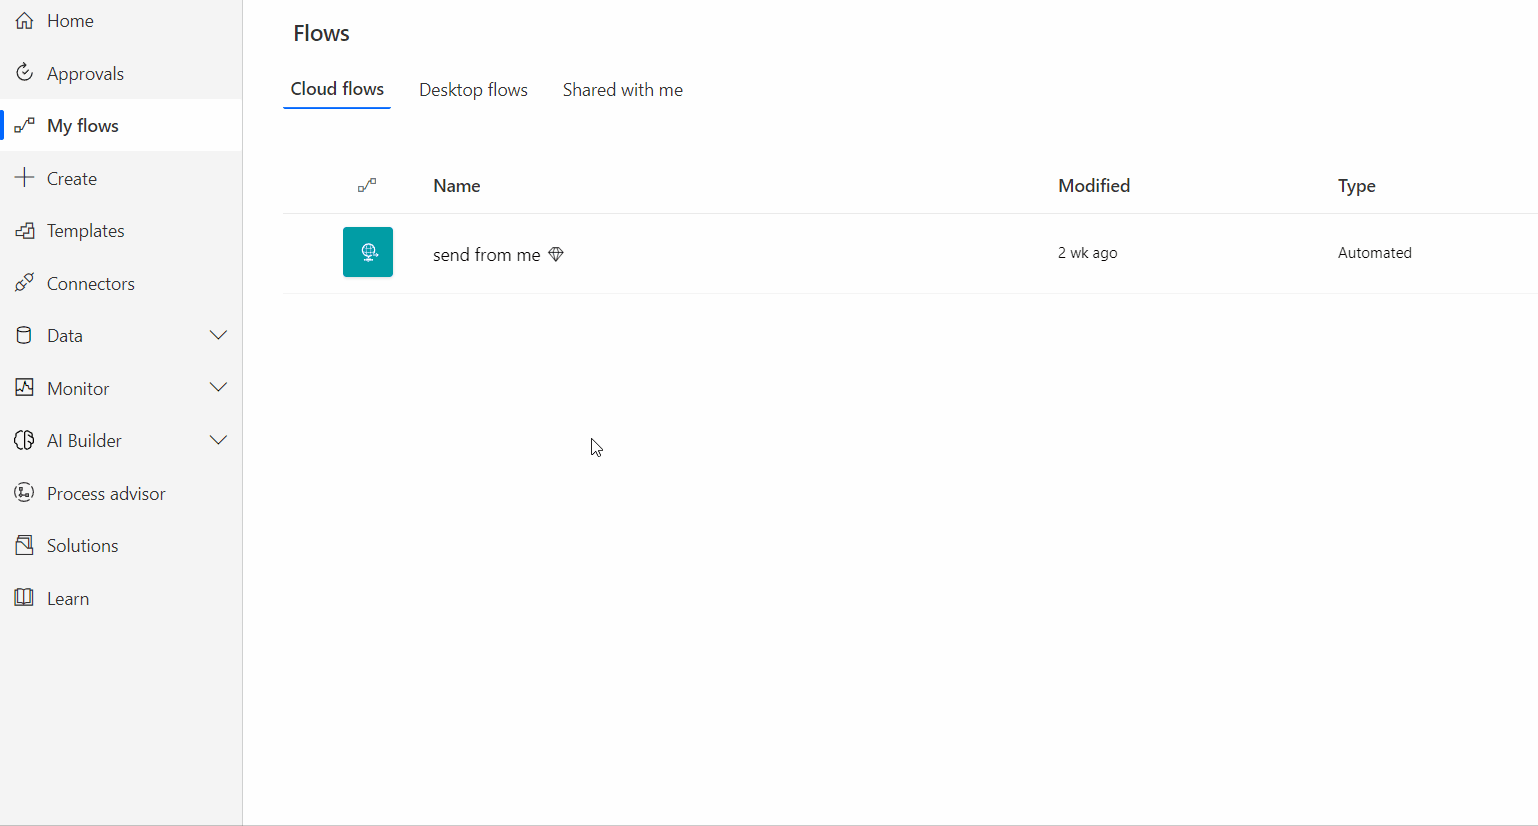
We can view flows that we have created by returning to the Power Automate home page and clicking ‘My flows’ on the navigation bar to the left.
Clicking on the name of an individual flow presents a useful overview. Including a 28 day run history. If a flow has failed it is possible to get further details by clicking on the links under ‘Status’.
Next steps
If your email doesn’t need to be from a specified person, try using ‘Send an email (V3)’ for an even simpler set-up.
If you’re feeling inspired, the Power Automate website offers further support, tutorials, templates, and suggestions for automating typical workflows.